Introduction
Transforming your space with hardwood floor covering can be one of the most rewarding home improvement projects. Not only does it enhance the visual allure of your home, but it also includes value. Nevertheless, attaining a professional look in your DIY hardwood floor installment needs mindful planning, interest to information, and the right devices. In this comprehensive overview, we'll walk you via every step of the procedure while offering understandings on just how to accomplish a perfect surface that rivals that of professional installations.
Understanding Hardwood Flooring Installation
What is Hardwood Flooring Installation?
Hardwood flooring setup describes the process of putting down wood planks in a designated location to produce a long lasting and aesthetically attractive surface. This can involve various techniques, consisting of nail-down, glue-down, and drifting approaches, depending upon the https://sergiofqal053.timeforchangecounselling.com/the-ultimate-overview-to-hardwood-floor-installment-idea-for-success type of wood flooring chosen.
Types of Hardwood Flooring
Solid Hardwood
Solid hardwood floorings are made from a solitary piece of wood and commonly been available in thicknesses ranging from 3/4 inch to 5/16 inch.
Engineered Hardwood
Engineered hardwood includes numerous layers, making it a lot more versatile and steady than strong wood. It's much less susceptible to contorting because of adjustments in humidity.
Benefits of Setting up Wood Floors
- Aesthetic Allure: Includes heat and elegance. Durability: With proper treatment, hardwood can last for decades. Increased Home Value: Residences with wood floors tend to offer faster and at higher prices. Easy Maintenance: Simple cleansing approaches keep them looking fresh.
Preparing for Your DIY Project
Assessing Your Space
Before diving into your task, examine the location where you'll be installing the flooring. Think about aspects like room size, lighting problems, existing floor types, and furnishings placement.
Choosing the Right Tools
To accomplish a polished look during your wood flooring installation, collect these essential devices:
- Tape Measure Chalk Line Mallet Flooring Nailer or Stapler Saw (Table or Round) Moisture Meter
Selecting Your Wood Flooring
When picking your wood flooring:
Consider the wood species (oak, maple, cherry). Decide on color and finish-- darker shades might reveal scrapes much less than lighter shades. Ensure you choose premium boards with marginal defects.Achieving a Specialist Look in Your Do It Yourself Wood Floor Installation
Think about what makes professional setups stick out: precision cuts and smooth transitions between planks. To replicate this quality:
Take precise measurements prior to cutting. Use a straight side for noting cuts. Allow for appropriate adjustment time prior to installation-- this suggests allowing your timber sit in the room for several days.Preparing Your Subfloor for Installation
Importance of Subfloor Preparation
A well-prepared subfloor is crucial for accomplishing an expert search in your do it yourself hardwood flooring installation. An uneven or poorly installed subfloor can bring about squeaks and various other problems down the line.
Steps for Preparing Your Subfloor
Clean Thoroughly: Remove all debris and dust. Check Levelness: Utilize a leveling tool; fill up low places with leveling compound if necessary. Repair Any Damages: Fix cracks or openings in concrete subfloors or replace harmed plywood panels.Installing Underlayment
What is Underlayment?
Underlayment is an extra layer put beneath hardwood flooring that aids with audio absorption and moisture protection.
Selecting Underlayment Material
Choose an underlayment compatible with your selected floor covering kind-- choices include foam sheets or really felt paper created specifically for wood installations.
Laying Down Your Hardwood Flooring
Beginning Your Installation
Start at one corner of the room:
Lay down spacers along the wall surface to allow for expansion gaps. Place your initial row of slabs against these spacers.Cutting Planks Accurately
When cutting planks:
Measure two times; cut once! Use appropriate precaution such as goggles and hearing protection.Creating Patterns or Designs
Consider producing patterns like herringbone or chevron for included aesthetic passion-- yet keep in mind that this needs extra planning!
Finishing Touches After Installation
Trimming Out Transition Areas
Use transition strips in between various floor covering types (e.g., carpet to wood) or entrances to guarantee smooth changes without journey hazards.
Removing Spacers Carefully
Once every little thing is established and safeguarded, get rid of spacers gently so as not to harm sides that require repairing later.
Hardwood Floor Refinish: When Is It Necessary?
Signs You Required To Refinish
Over time also quality wood floors may reveal wear; here's when you ought to take into consideration refinishing:
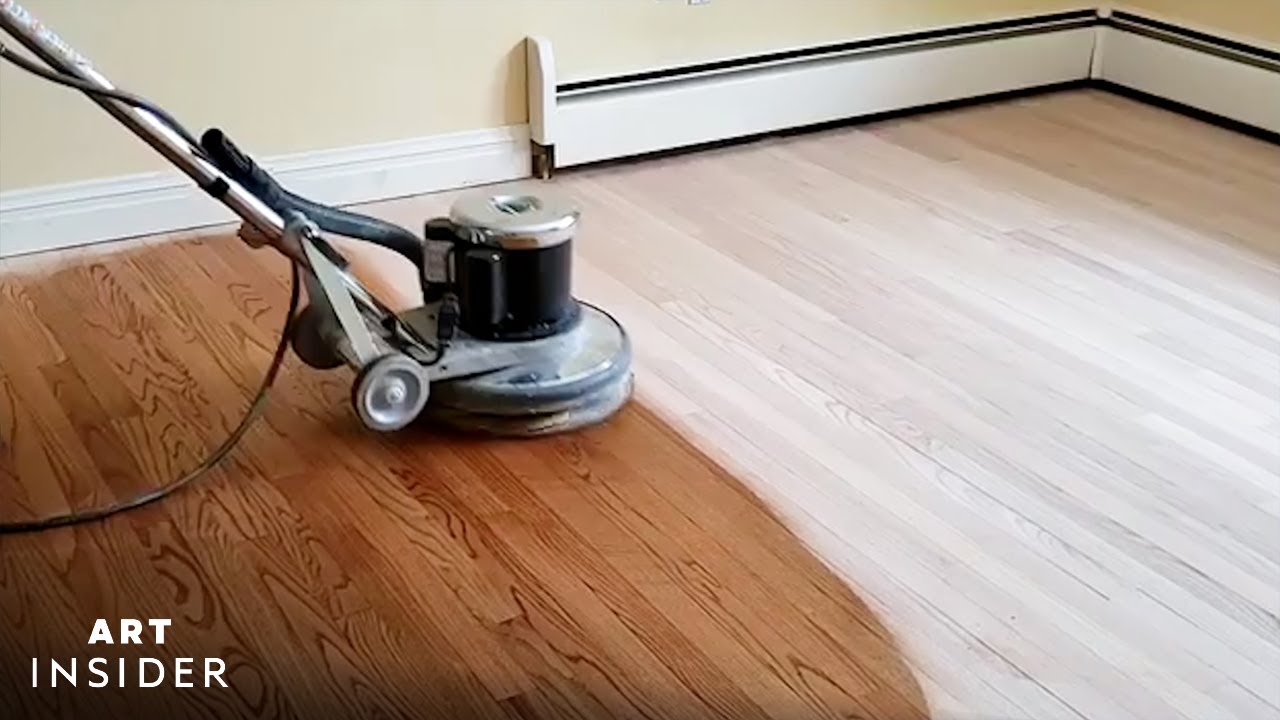
Deep scratches Faded areas Water damage stainsThe Refinishing Process
Refinishing involves sanding down the top layer followed by using brand-new stain and sealant-- this can renew your floorings dramatically!
FAQs About do it yourself Hardwood Floor Installation
1. The length of time does it require to mount wood floors?

2. Can I install wood over existing flooring?
While it's possible under certain scenarios (like making use of crafted wood), it's finest method to remove old flooring for ideal results.
3. Must I work with professionals if I'm unsure?
If you're unsure concerning any kind of step in this procedure-- from measuring accurately to making sure levelness-- it might be smart to seek advice from experts first!

4. What sort of surface need to I choose?
Choosing between oil-based or water-based surfaces typically depends on preferred drying time versus resilience-- water-based dries faster but oil-based has a tendency to last longer!
5. How do I preserve my new floors?
Routine sweeping/vacuuming integrated with periodic mopping making use of recommended cleaners will certainly maintain them looking great!
6. Can I refinish my very own floors?
Definitely! Just ensure you have all required tools & & comply with proper procedures carefully-- safety first!
Conclusion
Achieving a professional search in your DIY wood flooring installation doesn't have to feel overwhelming! With comprehensive preparation, cautious execution, and an eye for information throughout each step-- from selecting products via finishing touches-- you can create magnificent outcomes that improve both elegance & & value within your home! So roll up those sleeves & & get going on transforming those spaces into something really unique today!